These instructions are only for desktops and laptops that are non-CUNET-connected computers. All CUNET-connected computers will receive the ENS Desktop Client updates automatically through ITS.
Windows Installation Instructions
Download the Client
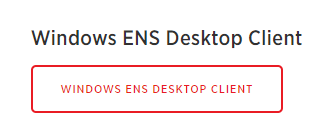
Select the ENS Desktop Client for your current operating system. There is currently a Windows and a Mac version available for download.
Your download should begin automatically once you select one of the clients. A download progress bar will appear at the bottom of your browser.

Once the file has finished downloading, double-click the file so that it opens in a new file explorer window.

If your browser does not have a status bar, navigate to your “Downloads” folder or default download folder to access the files.
Unzip/Extract the File
Once file explorer is open to the compressed folder, there will be a toolbar along the top of the file explorer window titled “Compressed Folder Tools”. While on that tab, select “Extract all”.

The “Select a Destination and Extract Files” pop-up window will appear. Confirm the location of where you would like to extract the program files. Select “browse” if saving to an alternate location and navigate to the chosen folder, select hit and click “Select Folder”. This will updated the folder path to the selected location. Select “Show extracted files when complete” so that it is checked off, as shown in the screenshot below. Once this step is completed, select “Extract”.

Complete Installation
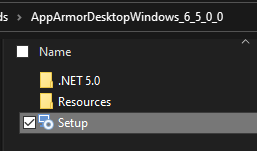
Once your device finishes extracting the files, a new folder window will appear. Select the “Setup” file and the installation will begin.
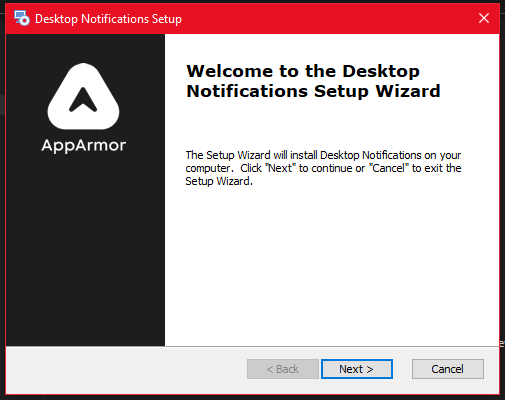
Once the installation begins, an AppArmor installation window will appear. Follow the prompts within the AppArmor installation window to complete the installation.
Once the client has successfully installed, the Desktop Notifications client will appear in the status bar. If the client is able to connect then the icon will display a green connected icon over the Carleton logo.
![]()
Mac Installation Instructions
Download the Client
Select the ENS Desktop Client for your current operating system. There is currently a Windows and a Mac version available for download.
Your download should begin automatically once you select one of the clients.
Unzip/Extract the File
Once the download is complete, navigate to your downloads folder. Select the “AppArmorDesktopMac_X.X” zipped folder and double-click. When unzipping is complete, there should be two files that were extracted:
- Desktop Notifications-X.X.pkg – This is the Desktop Notifications Installer
- DeviceSettings.plist OR UserSettings.plist – The settings for your desktop notifications app
Below is a screenshot showing the files configured to be installed for all users of the computer:

Complete Installation
Double-click the “Desktop Notifications-X.X.pkg” file to start the installation. You will be prompted with the following screens.
The “Welcome” screen appears, click “Continue”.

Review the storage space requirements, then click “Install”.

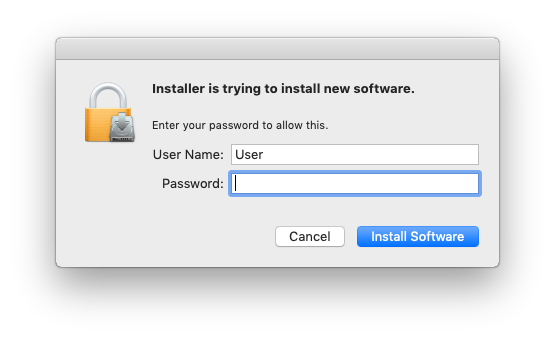
You may be prompted to enter your password, please do so. NOTE: This username and password is specific to your device user account. This information will not be collected or stored within the program being installed.
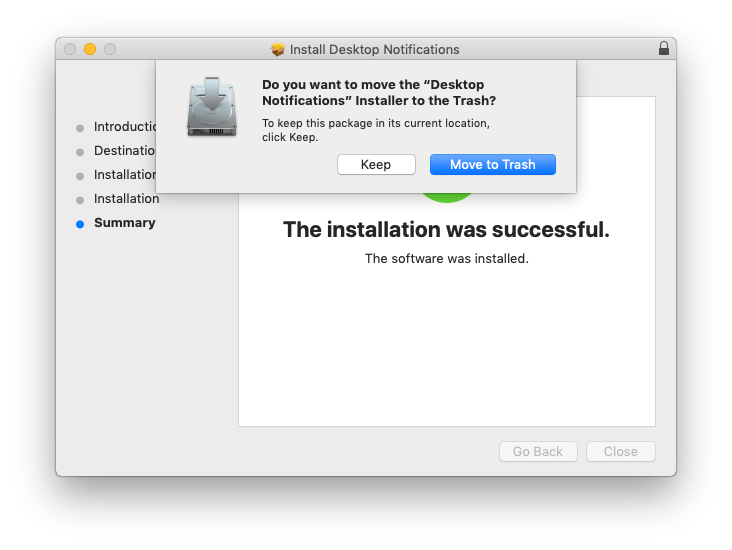
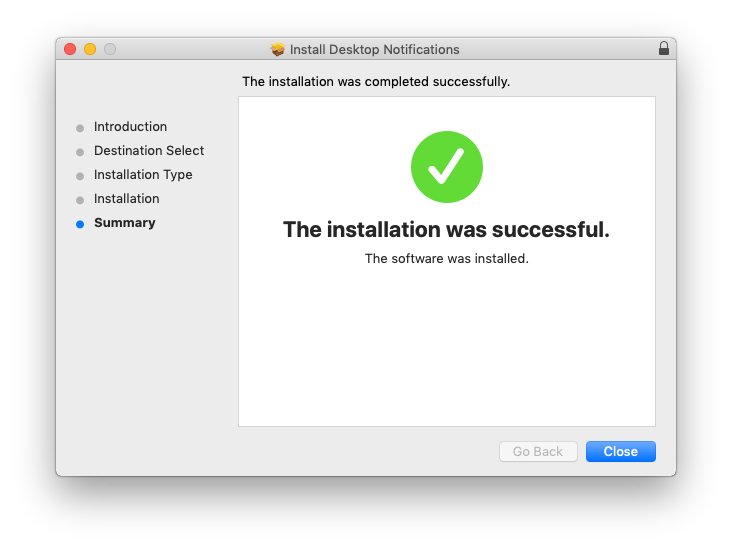
The installation will proceed, and you will see a confirmation that the installation was successful.
Once the client has successfully installed, the Desktop Notifications app will appear in the status bar. If the app is able to connect then the icon will display a green connected icon over the Carleton logo.
![]()
When you click “Close” on the installer, you may be prompted to move the installer to the trash. Please choose “Move to Trash”. The installation is now complete.